Tuesday, November 20, 2012

beginning of the mud room, and yummy cinnamon bun waffles

Well no posts for a while, because I'm in the middle of a bigger project. For one my birthday presents, we are turning our front hall/ coat closet into a mud "room". I know this doesn't sound like much of a present. But I'm excited to get to work on this, it will give us more space when we have many guests over to the house. The best part of this whole thing is, no more ugly glass doors! I hated those from the moment we moved in. I have tried many things to disguise them, but in the end they were still dated and ugly looking. I cleaned the closet out last night and painted today. My husband thinks I'm crazy, I get on these "fixes" and I just want to go around making everything that bugs me pretty. Enter my obsession: Pinterest to aide me in the crazy dept.!

hahaha!
LOL! Yep, that's us...


Here's some of my (p)inspiration:

Front Closet turned mudroom
cultivate.com
DIY entry way storage-- modify for foyer?
ana-white.com
DIY Entry Way
thehouseofsmiths.com     
         Today we tried these for a quick treat when we came home from the store.
cinnamon roll waffle
ahensnest.com  
 Pretty good! Just spray your waffle maker and pop them in for a few minutes. Yum! Needless to say, we ate them all!

Off to my parents tomorrow for Thanksgiving. Be back next week and I'll be anxious to show off some before and afters!
      

Thursday, November 15, 2012

PB Pudding cookies

Last night I made these: Peanut Butter Pudding Cookies


Peanut Butter Pudding Cookies
http://sweetpeaskitchen.com/2012/09/peanut-butter-pudding-cookies/

It's weird, my cookies actually look like these too! The pudding in the mix makes them fluffy and soft. I used peanut butter M&Ms instead of Reece Pieces. Pretty much the same thing in my mind. I got them on Halloween clearance:) Bella helped me make them and even rolled them in little balls to bake. Livi "helped" by dumping in the bags of M&Ms in the measuring cup then when I got a quick call, ate a handful of them. I walked back in and she had a mouth full and chocolate running out of her mouth. I asked her "Did you eat these?!" She shakes her head no!;) Priceless!..I was really thinking ahead this time and saved half the dough
(already in balls) in the freezer for an event in 2 weeks!


Turkey kid crafts

On Monday I was in a crafty mood with my girls on Monday. We had some painting fun making some turkeys for one of my favorite holidays - thanksgiving! Here's their cute creations:


fall craft
http://www.walkingbytheway.com/blog/?p=821


  I thought this shirt was just so cute, but I couldn't commit to making a shirt that only gets one good day of wear. So we made these pictures instead. The girls made the "turkey" part with their hand of course. Can't go a Thanksgiving ( at least for a few more cute little years) without one!

http://www.lovefromtexas.com/2011/07/phone-pics.html


Wednesday, November 14, 2012

Throw Pillow Covers

I have had this fabric for a while. When I was at the store, I knew I just had to buy this because I just loved the pattern so much. I didn't have a particular thing in mind to make with it. These throw pillow cases were just the thing! I'm working up some motivation to finish the other one, but here is the first one. I really like just having the fold over and button. That way you can change them any time you want. I have a "vision" for how I want my house to look, unfortunately my budget ( and husband sometimes) don't co-operate! So I do little things here and there to get by. This little fix is a step in the right direction for the way I want the family room to look.

Chic Pillow Cover
Source: www.bgh.com

Here's mine:


Here's the step by step guide in pictures....
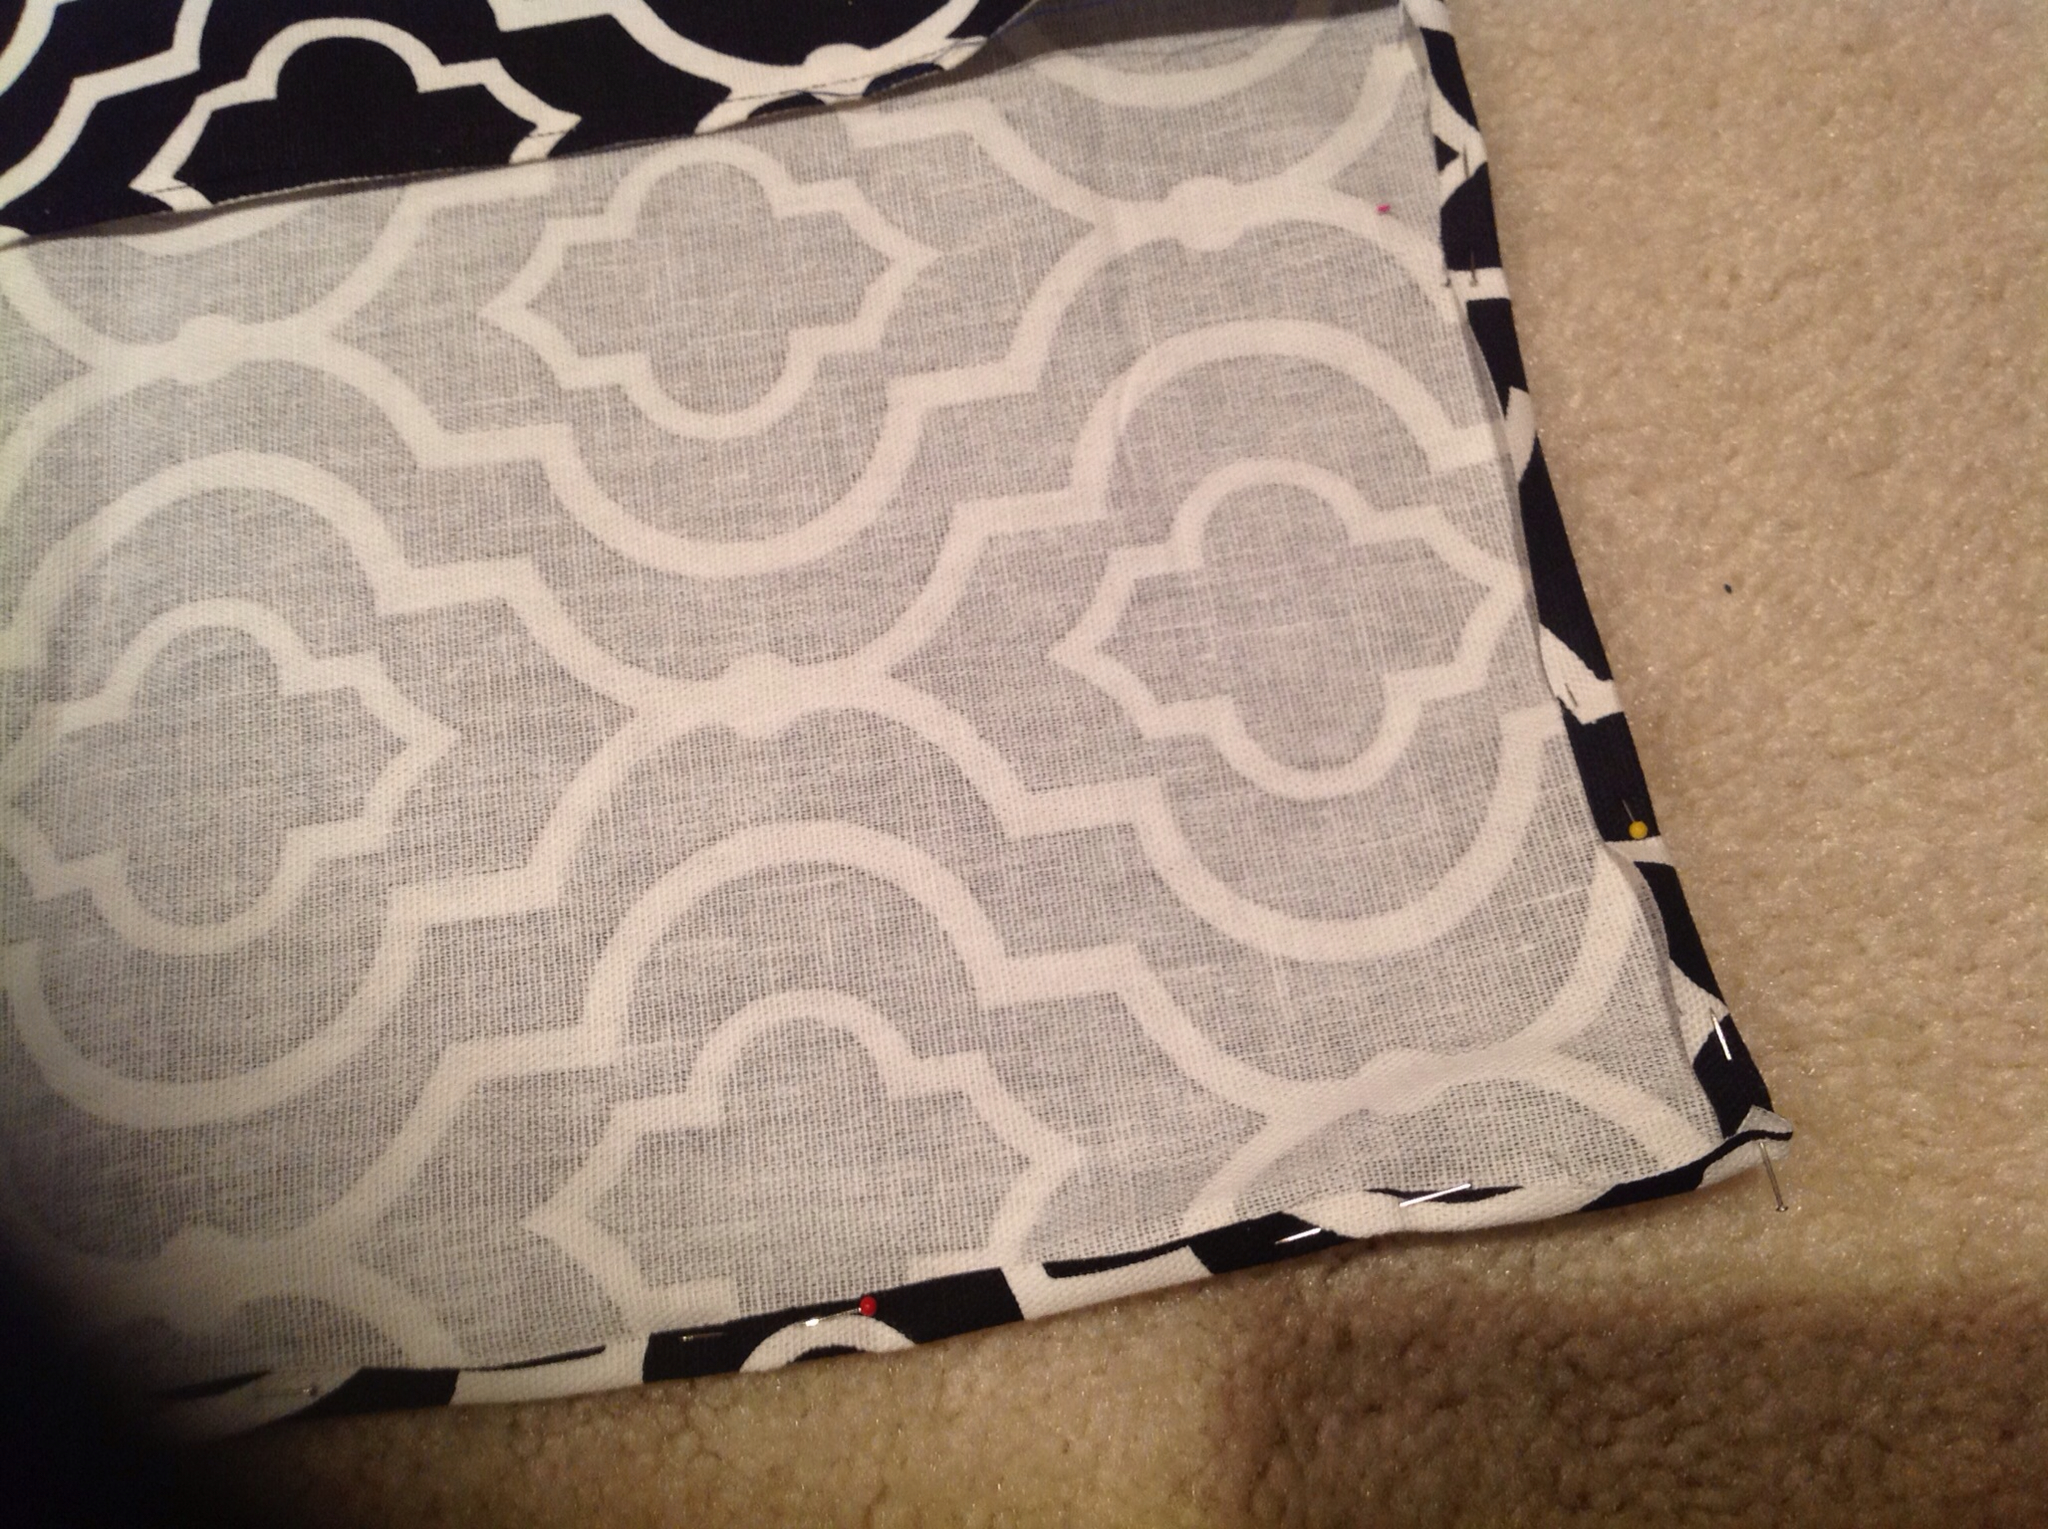
Figure out the amount of fabric you need, I did this by folding over the fabric and having some extra for the fold over part. Make sure to leave a little room for a seam allowance.
 

Fold the bottom part and sew wrong ends together. Flip it over to the right sides now... Sew the raw edges together for the flap part.


Look! Now the pillow fits snugly inside.

Find a button and I hand stitched it on. I figured out where to place it by folding over the flap and just eye balling it.


Wednesday, November 7, 2012

Fall Crafts for kids

A few weeks ago we made these:

A little different take on this idea. I think a little easier, and less mess! The girls both had fun gluing them down. I just cut a piece of construction paper in a circle and traced their hands a bunch of times on other fall colored paper. Then I stacked the paper to cut out the tracings. Isabella even cut out her own handprints! For the first week after hanging them up, Livi would point to it proudly and say "make!"

Source : Evolving Mommy
"thankful" tree
source: http://thefirstgradeparade.blogspot.com

I really liked this idea. I want to make this a November tradition. Last year ( and this year) I go on the bandwagon of writing one thing that you are thankful for on Facebook. It is a great thing to really think about a new thing each day. We really are amazingly blessed! Starting to think in a thankful way can never be taught too young! I cut out some tree branches and stump out of kraft packing paper. I cut out the leaves with my Silhouette machine. So far it's going pretty well. Bella is doing great thinking up things that she is thankful for (sometimes with a little prompting from me). Here's ours;)


Saturday, November 3, 2012

Christmas tree from a tomato cage


Now that Halloween is over and the cold weather is here I'm feeling in the mood for decorating for Christmas! I know it's its only Nov 3!


So today I made a small tree out of garland and a tomato cage. It was very easy and took about a half hr tops.


I taped the top of the cage with duct tape. Then I wrapped the garland tightly around the bottom.There were little pieces of wire on the ends so that helped me to securely wrap the ends around the cage. I ended up using more garland than I thought. It was three and a half strands. I need the other half for another project. Cutting was quite hard! So four would be a really nice full tree. I got the strands of garland at Hobby Lobby on sale for $4 each. I already had a tomato cage. I'm sure that I have a strand of lights in with our decorations in the basement. So all in all a pretty nice tree for $16. I didn't get the lights on it yet. I'll have to take one in a few weeks once all the Christmas decorations are out. I also didn't have a planter pot large enough for the bottom of the cage to fit in. That would give it some height, but it's ok to sit on the ground too. I would recommend putting a brick on the bottom to hold it down if you are going to put it outside.I saw this beautiful tree on Pinterest but the pin didn't have step by step directions. So I have some of my own advice to pass one now that I've done it.


Here we go! Day 1

Soooo, I decided to be purposeful in actually using my "pins" that I have on Pinterest. I seem to have a little addiction with the site. By starting this blog, I will not just be "hording" my pins to use for a rainy day (or um, let's face it- never!). I can see how they actually work for me (and hopefully you, too!) As you know, there are many different types of topics on Pinterest. Most of the things that interest me are home decor, crafts, homeschooling my preschooler, and cooking.

Today's first entry is this:

Williams Sonoma Chocolate
Sour Cream Bundt Cake

I found the recipe here : http://lickthebowlgood.blogspot.com/2010/06/real-bundt-and-giveaway.html

Ok, so first thing you should probably know about me is I have been known from time to time of forgetting an ingredient, putting things in the wrong order, or getting to the middle of the recipe and then realizing that we either don't have any or enough of one ingredient! Then, I'll decide on the spot if I think it's necessary and totally leave out, or (thank God for Google!) find a substitute!

So, I was a little short on the brown sugar. I only had 2 cups, instead of 2.5 cups. I figured with all the other chocolate going in this cake, there would not be a loss of sugary sweetness to this! I also don't own a sifter, so that part about the flour- yeah, I just dumped in 2.5 cups. I always dream about someday getting all those little gadgets that I don't use all the time, but every so often there is a recipe that calls for things like sifting, using an immersion blender or a double boiler.

Rises pretty high, and oh so chocolately!


This cake turned out pretty good! It is heavy and had some bits of chocolate that melt in your mouth. I didn't have any more chocolate chips (or the heavy cream) to make the ganache. Honestly I'm sure that it would be even better, but the cake itself seems rich enough for our tastes. Especially if you add a little ice cream!;)